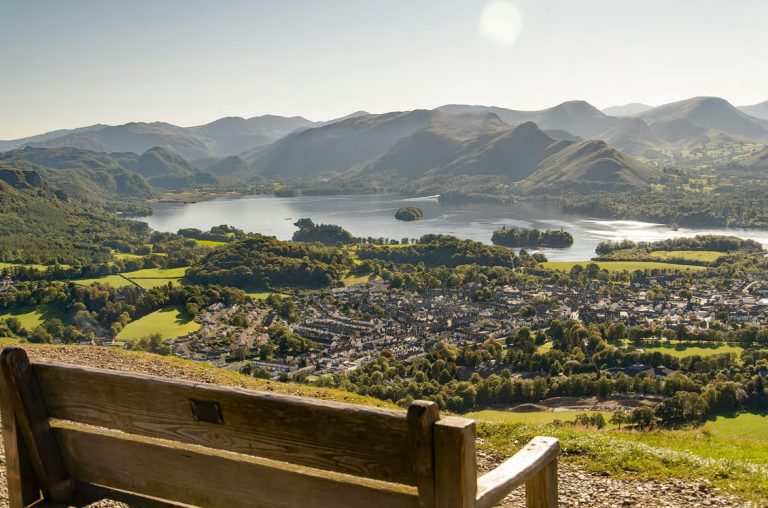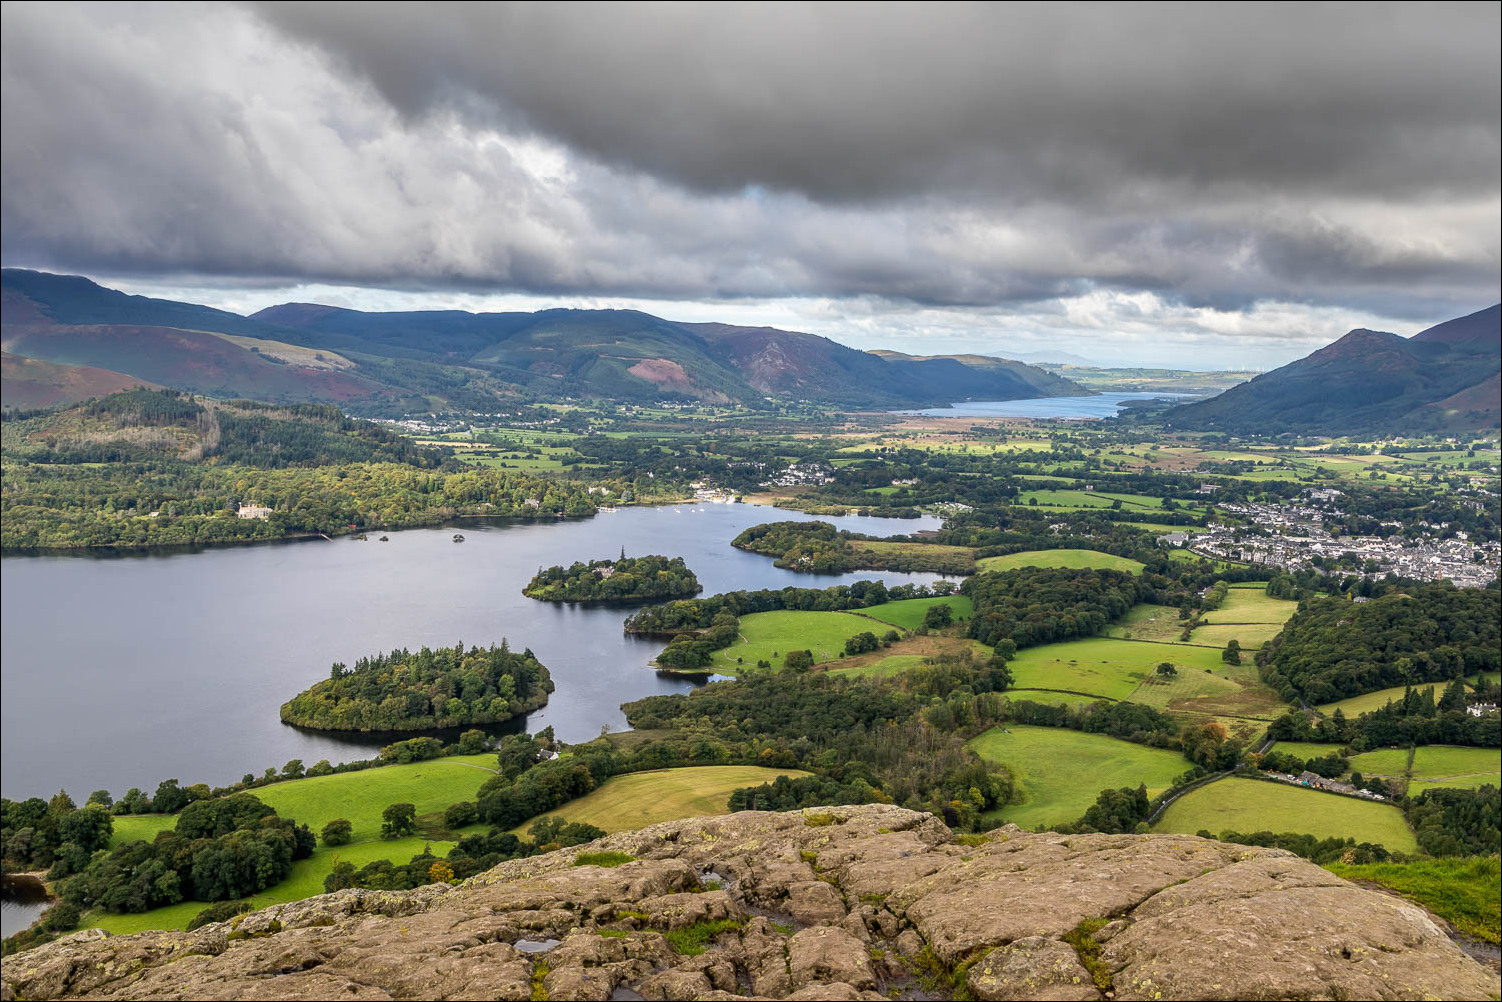
Take a scenic circular walk from Keswick to Walla Crag for spectacular views across Derwentwater, with Ashness Bridge and the lakeshore on the return.
Staying in Keswick?
Keswick Park Hotel is just minutes from Walla Crag and provides the perfect base for exploring the Lake District – book your stay.
Walla Crag Walk: A Scenic Circular Walk from Keswick
If you’re looking for a walk that combines woodland trails, a rewarding fell summit, spectacular views and some of the most recognisable scenery around Derwentwater, the Walla Crag walk is hard to beat.
Starting right in the centre of Keswick, this beautiful circular route takes you away from the town and up onto the slopes of Walla Crag before descending towards the famous Ashness Bridge. From there, the route follows the shores of Derwentwater back towards Keswick.
At around 6 miles, it’s long enough to feel like a proper Lake District adventure without taking up your entire day.
And best of all, you can walk there directly from Keswick Park Hotel.
Why Walk Walla Crag?
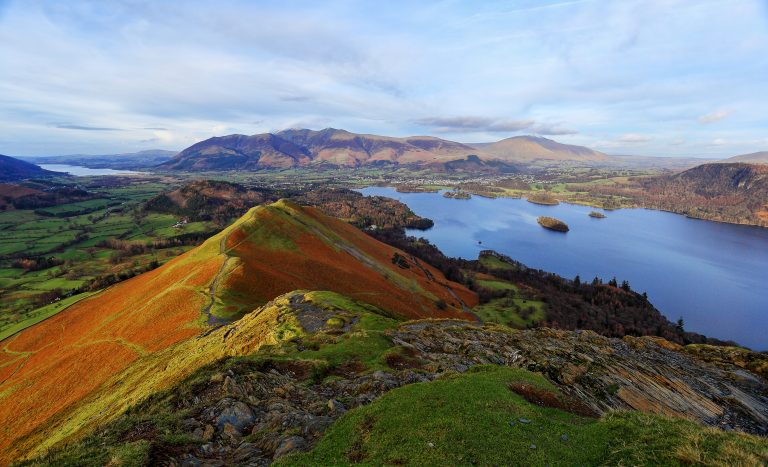
Walla Crag may not be one of the Lake District’s highest fells, but its position overlooking Derwentwater makes it one of the most rewarding.
As you climb, the views gradually open out across the lake towards the surrounding fells. From higher up, you can look across to Keswick, Skiddaw, Bassenthwaite Lake and the dramatic mountains beyond Derwentwater.
The route also combines several different landscapes, taking you through woodland, across open fellside and eventually down to the lakeshore.
It’s a fantastic choice if you want to experience several sides of the Lake District in a single walk.
Starting the Walk in Keswick
The official route starts at Moot Hall in Keswick’s Market Square, making it particularly convenient for visitors staying in the town.
From the Market Square, the route heads through the streets of Keswick before reaching Springs Road and continuing towards Springs Farm and Springs Wood.
Once you’re into the woodland, the climb gradually begins.
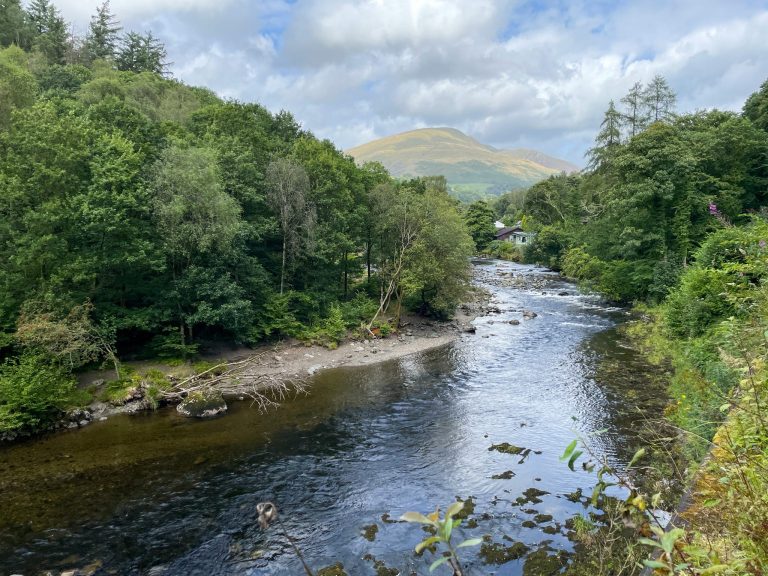
The sound of the stream beside the path and the trees around you make for a peaceful start to the walk before the landscape begins to open up.
Through Springs Wood
As the path climbs through Springs Wood, you’ll start to catch glimpses of Derwentwater through the trees.
Keep following the route upwards and the views become increasingly impressive. Eventually, you’ll emerge from the woodland with a much wider panorama stretching across the lake and surrounding fells.
It’s worth taking your time here. Walla Crag isn’t a walk where you need to rush to the summit — some of the best views appear before you reach the top.
The Climb to Walla Crag
The final approach to Walla Crag includes a short but steeper section of climbing.
There are a couple of options as you approach the summit. One route takes you along a more rocky path close to the edge of the crag, while another follows a more gradual grassy route beside the wall.
Whichever option you choose, you’ll soon reach the summit.
At 379 metres, Walla Crag offers an impressive viewpoint for relatively little effort compared with some of the higher Lake District fells.
Take a moment to enjoy the views across:
- Derwentwater
- Keswick
- Skiddaw
- Bassenthwaite Lake
- Catbells
- The surrounding Borrowdale and Lakeland fells
It’s also a fantastic place to stop for photographs.
Down to Ashness Bridge
After enjoying the summit, the route begins its descent towards one of the Lake District’s most recognisable landmarks — Ashness Bridge.
The path heads downhill over rocky sections and crosses a number of small streams before eventually reaching the bridge.
Ashness Bridge is a traditional stone packhorse bridge and one of the most photographed spots in the area. With the surrounding woodland, stream and mountains providing the backdrop, it’s easy to see why it features in so many photographs of the Lake District.
It’s an excellent place to pause before continuing your walk.
Follow the Shores of Derwentwater
From Ashness Bridge, the route continues downhill before reaching the shores of Derwentwater.
This section provides a complete change of scenery from the fellside above. The path follows the lake through woodland and along the shoreline, with beautiful views across the water towards the surrounding mountains.
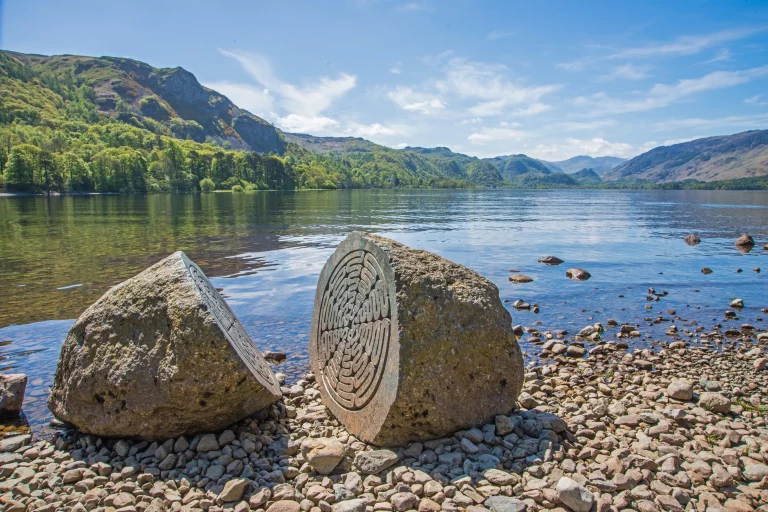
You’ll pass Calfclose Bay and the distinctive Hundred Year Stone, which marks a century of National Trust care of special places such as Derwentwater.
There is also an opportunity to make a short diversion to the Millennium Seat, where you can stop and enjoy another wonderful view across the lake.
A Chance to Shorten the Walk
One of the advantages of this route is that you’re never too far from the water.
If you’re feeling tired by the time you reach Ashness Landing, you can catch the Keswick Launch back across Derwentwater rather than completing the entire walk on foot.
It’s a great option if you’re walking with children, if the weather has changed, or if you’ve simply decided that you’ve had enough for one day.
Just remember to check the current launch timetable before setting off.
Friar’s Crag
As the route approaches Keswick, you’ll have the opportunity to make a short diversion to Friar’s Crag.
This famous viewpoint looks across Derwentwater towards the mountains of Borrowdale and is one of the most popular viewpoints close to Keswick.
Alternatively, continue along the lakeshore towards the boat landings and Theatre by the Lake before making your way through Hope Park and back into the town centre.
It’s a lovely way to finish the walk, with plenty of opportunities to stop for a drink or something to eat.
Essential Information
Distance: Approximately 6 miles (9.7 km)
Walking Time: Around 3–4 hours
Ascent: Approximately 1,480 ft (450 m)
Difficulty: Moderate
Starting Point: Market Square, Keswick
Route: Circular
Highlights: Walla Crag, Derwentwater, Ashness Bridge, Calfclose Bay and Friar’s Crag
Best For: Walkers, couples, families with older children, photographers and visitors looking for a rewarding half-day walk
The route includes some steep and rocky sections, as well as potentially boggy ground. Conditions around the lakeshore can also vary depending on water levels, so sensible footwear and appropriate clothing are recommended.
Stay At Keswick Park Hotel
Walla Crag is one of the many fantastic walks that can be enjoyed directly from Keswick, making the town an excellent base for exploring the Lake District without having to spend your holiday driving from one destination to another.
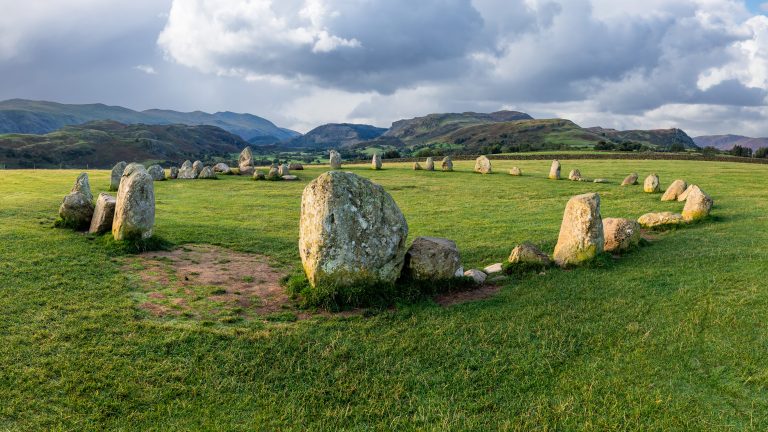
At Keswick Park Hotel, you’re right in the heart of the town and within easy reach of Derwentwater, Walla Crag, Catbells, Latrigg, Castlerigg Stone Circle and countless other walking routes.
Start your day with breakfast, head out into the fells, return to Keswick for lunch at The Terrace and then relax in the comfort of the hotel.
For a walking break in the Lake District, it’s difficult to find a better base.
Walla Crag Walking Route Map courtesy of Keswick Tourism Association.